SHRUBS > PHOTINIA > PROPAGATION
IN THIS GUIDE
PHOTINIA GUIDES

Common ProblemsContainer GrowingPropagationPruningRed Robin
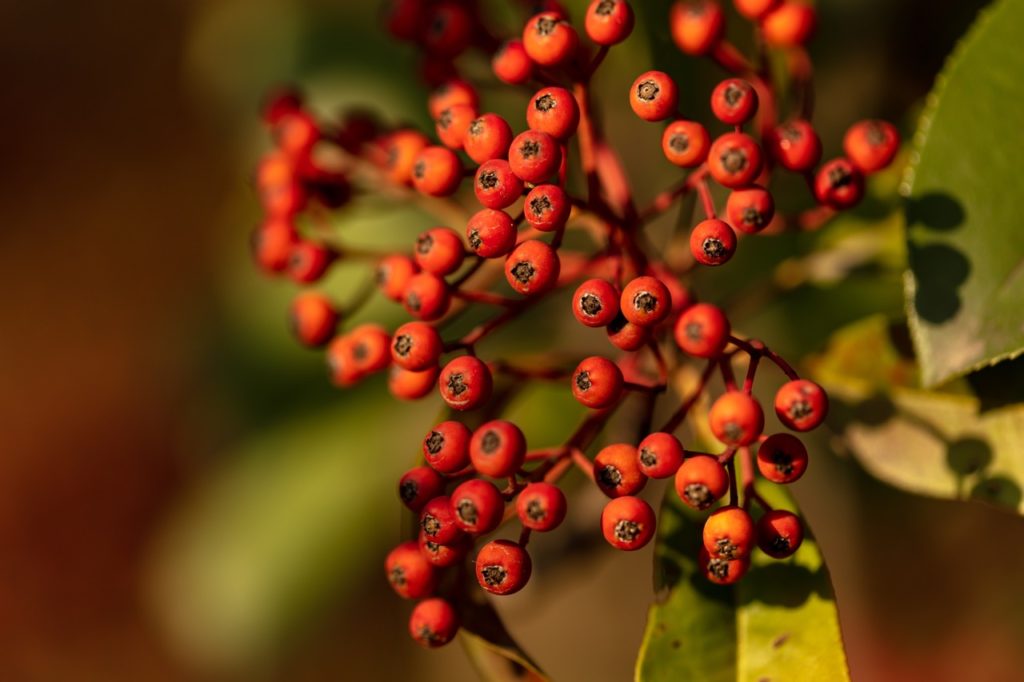
Amongst all shrubs , photinia is one of the most prized for its ruby or pinkish leave of absence that provide productive color in the fountain and summertime months .
If you like photinias , you will be happy to learn that these evergreen shrubs are quite easy to spread from stem press clipping .
However , there is a preferred method acting for multiplication depending on the change in question and also on your region , so verify you check which one you are growing first .
That said , you’re able to set about to propagate genus Photinia by cutting any time from late spring to tardy summertime .
“ If you need to grow an exact cultivar , such asPhotinia‘Red Robin ’ , then seed growing is not the method to take as they will not come true , ” explains Colin Skelly , a Master Horticulturist .

“ You will need to propagate from cuttings as these will be genetically identical . ”
Although this might be the most common way of propagating these plants , there are really 3 different ways to do this in the UK , which are :
Each of these three method acting is explain in more thorough detail below .

1) Propagation From Seed
Photinia seed should be sown in mid - natural spring but to increase the chances of germination they will need preliminary chilling .
In mid - February , put the seeds into a clear zip - lock chamber cup of tea , seal it , and put it in the electric refrigerator .
The optimal temperature for the seeds is between 0 - 5 ° 100 .
A calendar week or two after the last icing , you could sow the source in pots or on the opened ground .
After removing the cum from the electric refrigerator , put them in a bowl of water for 12 - 24 hour before inseminate .
Seeds may be sown in potting intermixture in small mint and transplanted afterwards or even seed directly outside in moderately ample loamy soil .
In either case , the soil should drain very well .
The heap or planting website should be in full Lord’s Day or fond refinement and , at least initially , in a sheltered patch .
Sow seeds in the morning by nudge them into the soil and lightly patting down the soil onto the source .
pee well and keep the soil consistently moist until seedlings sprout .
2) Propagation From Softwood Cuttings
From late March to other April , prepare a small pot with pot mix and Amandine Aurore Lucie Dupin .
When root cuttings , I wish to layer the medium in the weed , with pebbles and grit for the lowest bed , organic compost , well - molder manure , and sand in the middle , and sand and vermiculite at the top where the cutting will initially root .
This proficiency allows the cutting to develop into a lowly plant before you need it to pot up .
By mid - morning sometime in late March to other April , take a smartly - produce fresh green shoot or branch .
Cut a distance of 10 - 15 cm , create the cut just beneath a folio node , prevail the uppermost three leaves and clip the sleep .
You may sink the base of the carving in rooting hormone pulverization , but this is not necessary because photinia cut root so readily and reliably .
Make a kettle of fish in the medium and insert the cutting from a quarter to a third of its distance in it and firm up the medium around it .
Put the tidy sum in a seat where it will get plenteous indirect sunlight and will not be unwrap to the cold or the flatus then water it well .
Water the cut moderately every day such that the medium stays moist .
3) Propagation From Semi-Hardwood Cuttings
This method is standardized to propagation from softwood cutting except for a few detail .
It is best seek in the later July to former August timeframe .
take a branch that is gullible at the farm ending but brown or greyish , but not entirely woody , at its affixation .
bring down a length of 15 - 20 cm , making the cut just beneath a folio node .
For this method , you only require to retain the upper 2 leaves and you may take out the balance .
If you do not want the cutting itself to fritter up as a drawing card , trim the tip of the cutting , but if you do , leave this .
The other stride are the same as those shown in Method 2 .
By using one of these methods , you should be able to distribute your own genus Photinia plants – even early or belated in the yr .
